Before you can begin installing your deck, it's time to get your ducks in a row. In Part I of our three-part deck series, we covered all the things you should consider when planning the layout of your deck, and selecting the right products for your project. And although we always recommend hiring a professional to complete your installation, we want to provide some tips to assist those who are adamant about DIY-ing their project.
In Part II of our series, we'll take a look at everything else you’ll need to have in place before you can put on your safety goggles and get to work:
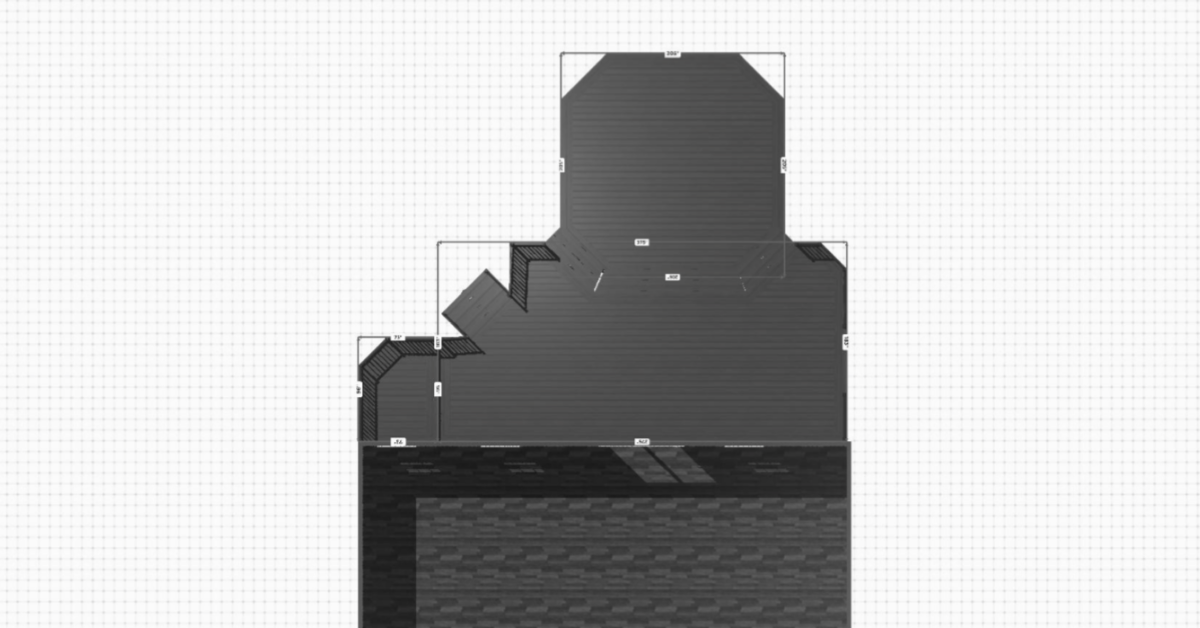
Create Your Site Plan

In order to determine what materials you’ll need and to apply for a permit (more on that later), you’ll need to illustrate your framing plan to scale.
Your plan will need to include the following details:
- Accurate dimensions
- Proximity to existing structures, property lines and utilities
- Identification of materials
- The size and location of footings and posts
- Height in relation to grade
- The size and span of beams
- The size and spacing of joints
- Details on stairs, handrails and roofs, as applicable
- All framing connections
You can create your plan with a pencil, a ruler and some graph paper, but there are plenty of online tools to make your experience easier, including TimberTech’s Deck Designer, which gives you the option of choosing from pre-existing plans or customizing your own.
Order Your Materials
Once you have your plan in place, bring it into Suburban Lumber and we’ll help you put together a detailed list of the materials you’ll need, including hardware or fasteners. And for local deliveries, we offer free delivery.
Storing Your Supplies & Equipment
Keep all your composite materials on a flat, level surface and store in a cool place before you begin installation. Be careful not to remove any protective overwrap until you’re ready to use the product.
When you order from Suburban Lumber, we take care to make sure your materials are unloaded properly upon delivery, and can give you additional pointers for storing your product.
Iowa One Call
%20copy%202.png)
Before you start digging your footing holes (the first step to building your deck), you’ll need to first check with Iowa One Call to make sure you won’t be digging into any utility lines. Call 811 at least 48-hours before you plan to start or visit iowaonecall.com to complete the process online. They’ll send a facilities operator to your home to mark any utility lines located near your project site using colored flags and/or paint. You will not be allowed to dig within 18 inches of these markings.
PRO TIP: Skipping this step isn’t just a bad idea— it’s also illegal. If you accidentally dig into say, a fiber optic cable, you’ll be facing HUGE fines and an even bigger hassle. Iowa One Call is free and extremely fast, so there’s no reason to ever skip this step.
Permits – Which Ones Will You Need?
Many (but not all) decks require building permits. If you just want a small, open deck to keep your grill and a couple of lawn chairs on, there’s a small chance you won’t need one. BUT, you’ll need a building permit for any of the following situations:
- Decks larger than 200 sq. ft.
- Decks built more than 30” above grade
- Decks that will need to support heavy objects like hot tubs
- Decks with roofs
- Screened-in porches
Keep in mind that even if your project doesn’t require a building permit, you may still need a zoning permit. To confirm what type of permits you’ll need in Linn County, call the Building Division (319) 892-5130 to start the process, or visit their website here to view permit handouts and plan checklists.
Tools for the Job

Nothing is worse than having to stop in the middle of a job because you forgot a tool, or you didn’t buy enough materials. Keeping checklists of what you need will help you avoid back-and-forth trips to the store.
Use this Deck Tools Checklist to make it easy to keep track of what you’ll need:
Tools for Measuring
- Measuring tape (25’ +)
- Chalk line
- Carpenter’s square
- Rafter square
- Level
Tools for Cutting
- Circular saw (for most cuts)
- Jig saw (for curved spots and tight corners)
- Miter saw (for cutting precise angles)
Tools for Fastening
- Cordless drill
- Hammer
- Pneumatic Nail Gun
Other Miscellaneous Tools
- Narrow spade for digging post holes (for large jobs, consider renting a machine for earthmoving)
- Pry bar
- Dead-blow hammer or mallet
Safety Equipment
- Safety goggles
- Protective gloves
- Hearing protection
If it seems like you're biting off more than you can chew, our Suburban Lumber team can refer you to one of the area's best contractors.
Read More:
The Ultimate Guide to Building Your Composite Deck, Pt. I
The Ultimate Guide to Building Your Composite Deck, Pt. III: Installation Tips & Maintenance


